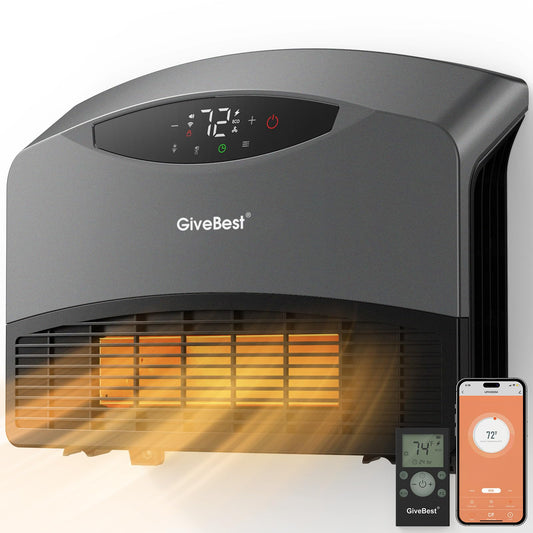
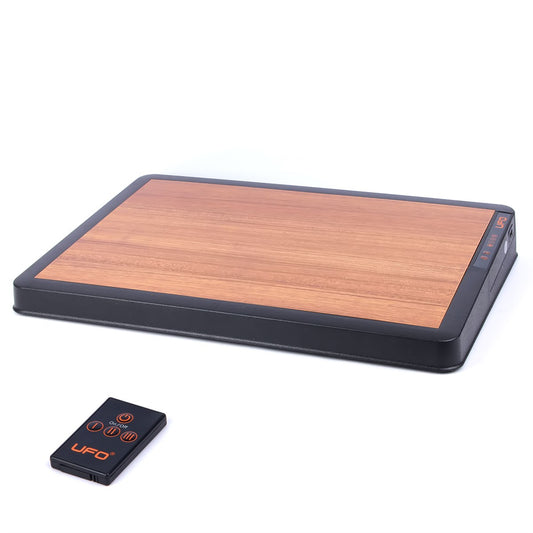
How to Install Infrared Heaters

Installation depends on the model, so the manufacturer's manual always comes first. The steps below are a general guide to planning.
1. Choose the location
- Aim the heater at the area where people sit or work.
- Check the minimum mounting height and clearances to walls, ceilings, awnings and anything flammable.
- For outdoor use, confirm the heater's weather rating suits the location.
2. Check the power supply
Plug-in models need a suitable outlet, ideally on a circuit that is not already heavily loaded. Hardwired and 240 V models need an appropriate dedicated circuit.
3. Hire a licensed electrician for hardwired models
Hardwired heaters should be connected by a licensed electrician in line with the Canadian Electrical Code and local rules. In Ontario, electrical work is overseen by the Electrical Safety Authority (ESA).
4. Mount securely
Use the bracket supplied with the heater and fasten it into solid structure, such as studs, joists or masonry, using suitable anchors.
5. Test and adjust
Switch on, check that the controls work, and adjust the angle so the heat covers the intended area.
6. Keep it maintained
With the power off and the heater cool, wipe the reflector and guard occasionally, and check the mounting and cable from time to time.
Planning a specific space? Contact us with the size and use of the area, or browse our infrared heaters.